Dupa plasarea solicitării de comandă, in sectiunea Istoric puteti vedea cate solicitări de comandă mai avem de procesat inaintea dumneavoastra
Program de lucru: Luni - Vineri 9:00 - 18:00, pauza 13:00 - 14:00.
Se efectueaza lucrari de mentenanta la site si pot aparea erori. In cazul in care intampinati erori va rugam sa reincercati mai tarziu.
Ridicarea personala este disponibila pentru comenzile achitate in avans. Se pot ridica dupa ce sunt pregatite.
WOOW !!! Livrare gratuita la locker Easybox pentru comenzi mai mari de 98 RON !
No products
 View larger


MEGA 2560 Development Board ATmega2560 + CH340 (Arduino-Compatible)
0104110000003003
New product
This development board is perfect for larger projects that require multi-pin communication, analog and PWM. It also provides communication to microcontrollers via SPI, UART and TWI.
See description for more details about the product.
Add to cart now!
456 Items
- Remove this product from my favorite's list.
- Add this product to my list of favorites.
Accessories
Must-have Accessories
More info
Description
This development board is perfect for larger projects that require multi-pin communication, analog and PWM. It also provides communication to microcontrollers via SPI, UART and TWI.
Specifications
• Operating voltage: 5 V
• Power Supply: 7 V to 12 V
• I / O pins: 54
• PWM pin: 15 (from the I / O)
• Analog pin: 16
• 4 x UART
• Flash Memory: 256 KB, which 8 KB busy bootloader
• Operating frequency: 16 MHz
• Size: 10 cm x 5.3 cm
• Do not forget to install the driver (attached at the bottom) for chip CH340 before use.
It is ideal for larger projects and has the advantage of being programmable via USB.
Be sure to install the CH340 CIP driver (attached at the bottom of the page) before use.
Instructions for use
1. Install the Arduino IDE development environment.
Arduino IDE is available for free on the official website and can be downloaded by accessing this link. This program is compatible with most development systems (Linux, Mac OS X and Windows).
For Windows or Mac OS X you must install the CH340 CIP driver. If you are using Linux, you do not have to install this driver because it is included in the operating system.
2. Configure the development environment for use with the development board.
Open the "INSTRUMENTS" tab and select the "Arduino/Genuino Mega or Mega 2560" development board. Now select the type of processor "ATmega2560 (Mega 2560)".
3. Creating the code.
After you install Arduino IDE, you can write the first program for the development board. The programming language used is C ++ (slightly modified).
The code is based on two main functions:
- "Void setup ()" function: This runs only once when the development board is started. Usually, this function is used to initialize pins (such as INPUT or OUTPUT) or to start serial communication ("Serial.begin");
- "Void loop ()" function: This runs endlessly until the board is switched off. This feature is usually useful for reading measured data from various sensors attached to the development board or for updating data on an LCD screen.
After you have written the program or opened one of the File -> Examples, press the "Check" button or the CTRL + R shortcut to compile the code. If the code is free of syntax errors, the text "Compilation completed" should appear at the bottom. In the case of a contract, an error message will appear that should help correct the error.
In the image attached below you can see an example of a "Blink" code that was successfully compiled.

4. Connect the development board and upload the code.
Connect the board to the computer via a USB cable. After you have connected the board, open the "INSTRUMENTS" tab and select the port to which the device is connected.
Press the "Upload" button or CTRL + U shortcut to upload the code to the development board. After you finish writing the code in the memory of the board, you will receive a confirmation message that there were no problems. Otherwise, the upload is stopped and details about the issues will be displayed.
5. Attach the sensors.
The board is compatible with the Arduino Mega 2560, so any sensor for the Arduino Mega 2560 can be used with this product.
CAREFUL!!! Be careful not to connect components that consume too much power because you risk breaking the board. Also, observe the polarity of the sensors so as not to destroy them.
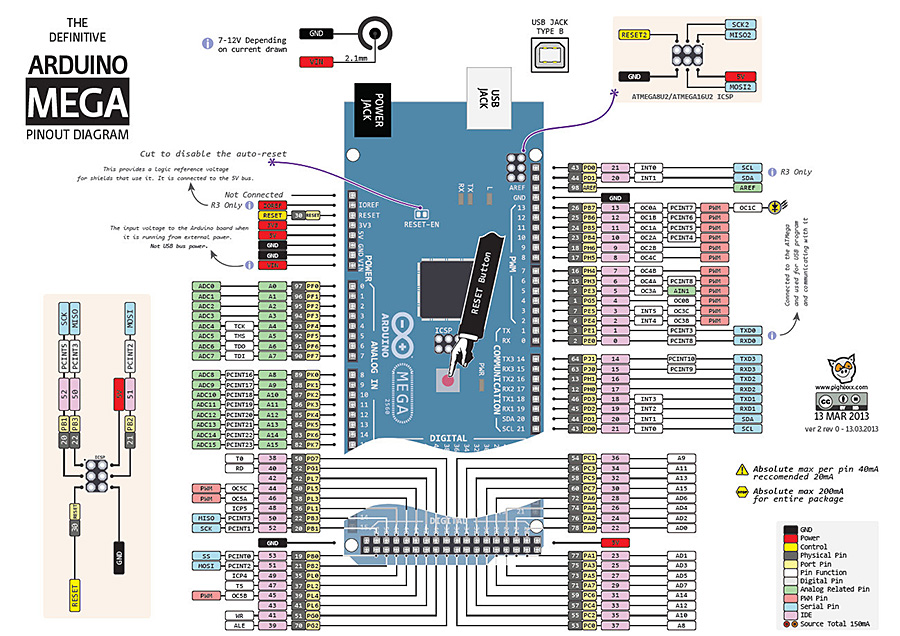
In the image attached below you can see the map of the pines. This is useful when you need to use special pins, such as PWM, ADC, SDA, SCL, etc.
Don't delay, buy today.
Add to cart now!
Reviews
Semnalizare tip BLA
Am scris și realizat cod ce imită semnalele luminoase BLA (bloc lumini automate) de la semnalizarea CFR. După multe ajustări am reușit să imit semnalizarea inclusiv blocarea plecării a două trenuri simultan de pe linii diferite. Bineîbțeles trebuie și relee...
- 3 out of 3 people found this review useful.
Testat
Merge bine multumesc Optimus Digital
- 8 out of 10 people found this review useful.
Nota 10
Am primit azi pachetul cu mega2560, shild-ul W5100 si altele. Comanda a fost preluata, procesata si trimisa Luni. Deoarece e prima data cand pun mana pe Arduino am verificat cu web server-ul de pe pagina Android Arduino Control (asta a fost scopul pentru care am cumparat kit-ul: era fain daca gaseam pe site si modulul cu relee, dar nu e problema - ma pricep sa o fac eu.) Concluzii: Multumesc Optimus Digital pentru calitatea serviciilor si a produselor. Echipa serioasa. Stima!
- 8 out of 9 people found this review useful.
Customers who bought this product also bought:
-
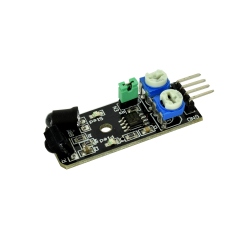
Digital...
This is a digital infrared distance sensor (2...
19,99 lei
-
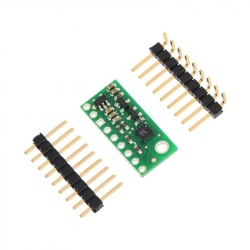
LPS331AP...
This carrier for ST’s LPS331AP digital...
19,99 lei
-
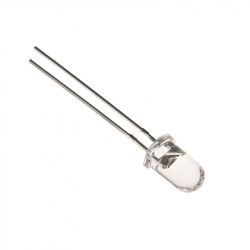
3 mm Blue...
These 3 mm bright blue LEDs are perfect for...
0,29 lei
-
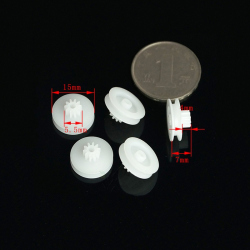
1510-2B...
1510-2B Pulley Gear
1,95 lei
-
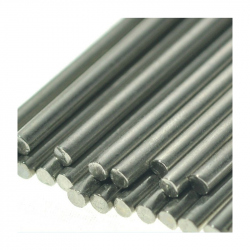
2x150 mm Shaft
Each shaft is 150 mm long and will work with...
1,95 lei
-
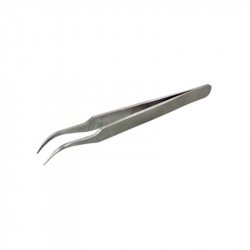
Curved Twizzers
This tweezer is made from nonmagnetic...
4,99 lei
-

Pololu 5V...
This switching regulator uses the SEPIC...
19,99 lei
-

P6100 100...
P6100 100 MHz Oscilloscope Probe Euro Standard...
69,99 lei
-
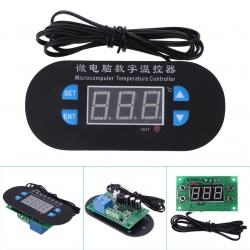
Temperature...
The module is powered with a stable 12 V DC...
26,99 lei
-
M4x30 mm...
M4x30 mm Hexagonal Head Screw See description...
0,99 lei