Dupa plasarea solicitării de comandă, in sectiunea Istoric puteti vedea cate solicitări de comandă mai avem de procesat inaintea dumneavoastra
Program de lucru: Luni - Vineri 8:30 - 17:30, pauza 12:30 - 13:30.
Se efectueaza lucrari de mentenanta la site si pot aparea erori. In cazul in care intampinati erori va rugam sa reincercati mai tarziu.
Ridicarea personala este disponibila pentru comenzile achitate in avans. Se pot ridica dupa ce sunt pregatite.
Niciun produs
 Mărește


Ecran 10.1'' JRP1105
0104110000087010
Produs nou
Ecran 10.1’’ JRP1105
Compatibil cu Raspberry Pi 4, Raspberry Pi 3 si Raspberry Pi Zero W
Acest produs nu mai este in stoc
- Scrie o recenzie
- Elimina acest produs din lista mea de favorite.
- Adauga acest produs la lista mea de favorite.
- Imprimă
Informații
Ecran 10.1’’ JRP1105
Produsul include:
- cablu USB la USB si USB-tip C;
- husa
- cablu HD-miniHD;
- adaptor HD-microHD;
- Display TFT cu touchscreen.
Recenzii
Clienții care au cumpărat acest produs au mai cumpărat:
-
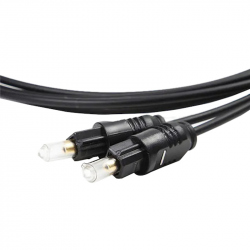
Cablu Audio...
Cablu Audio Optic (3 m)
$3.60
-
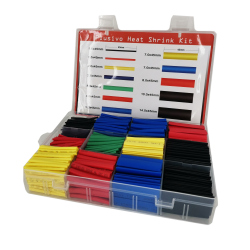
Kit Varnish...
Kit Varnish Colorat Plusivo (800 buc)
$4.80
-
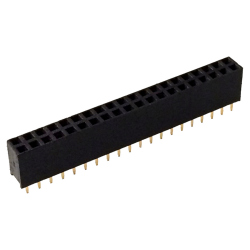
Header de...
Header de Pini Mama 2.54 mm pentru Raspberry Pi...
$0.46
-

Carcasă...
Produs Original Carcasă Negru cu Gri pentru...
$7.20
-

Piuliță...
Piuliță Fluture M3
$0.24
-
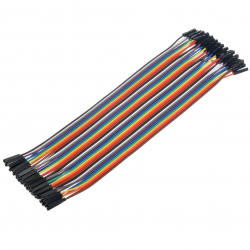
Fire...
Set Fire Mama-Mama (40p, 15 cm)
$1.68
-
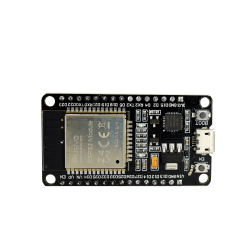
Placă de...
Această placă de dezvoltare are la bază...
$8.40
-
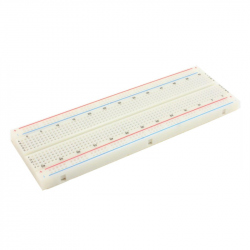
Breadboard...
Breadboard de calitate înalta, cu 830 de puncte.
$2.40
-
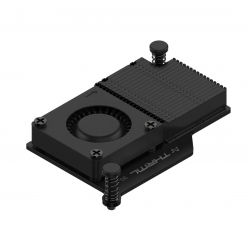
Argon THRML...
Argon THRML 30mm Cooler Activ Negru pentru...
$7.20
-
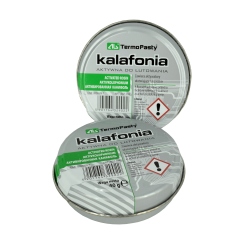
Colofoniu...
Colofoniu Activ 40 g (sacâz)
$3.60