Dupa plasarea solicitării de comandă, in sectiunea Istoric puteti vedea cate solicitări de comandă mai avem de procesat inaintea dumneavoastra
Program de lucru: Luni - Vineri 8:30 - 17:30, pauza 12:30 - 13:30.
Se efectueaza lucrari de mentenanta la site si pot aparea erori. In cazul in care intampinati erori va rugam sa reincercati mai tarziu.
Ridicarea personala este disponibila pentru comenzile achitate in avans. Se pot ridica dupa ce sunt pregatite.
No products
 View larger


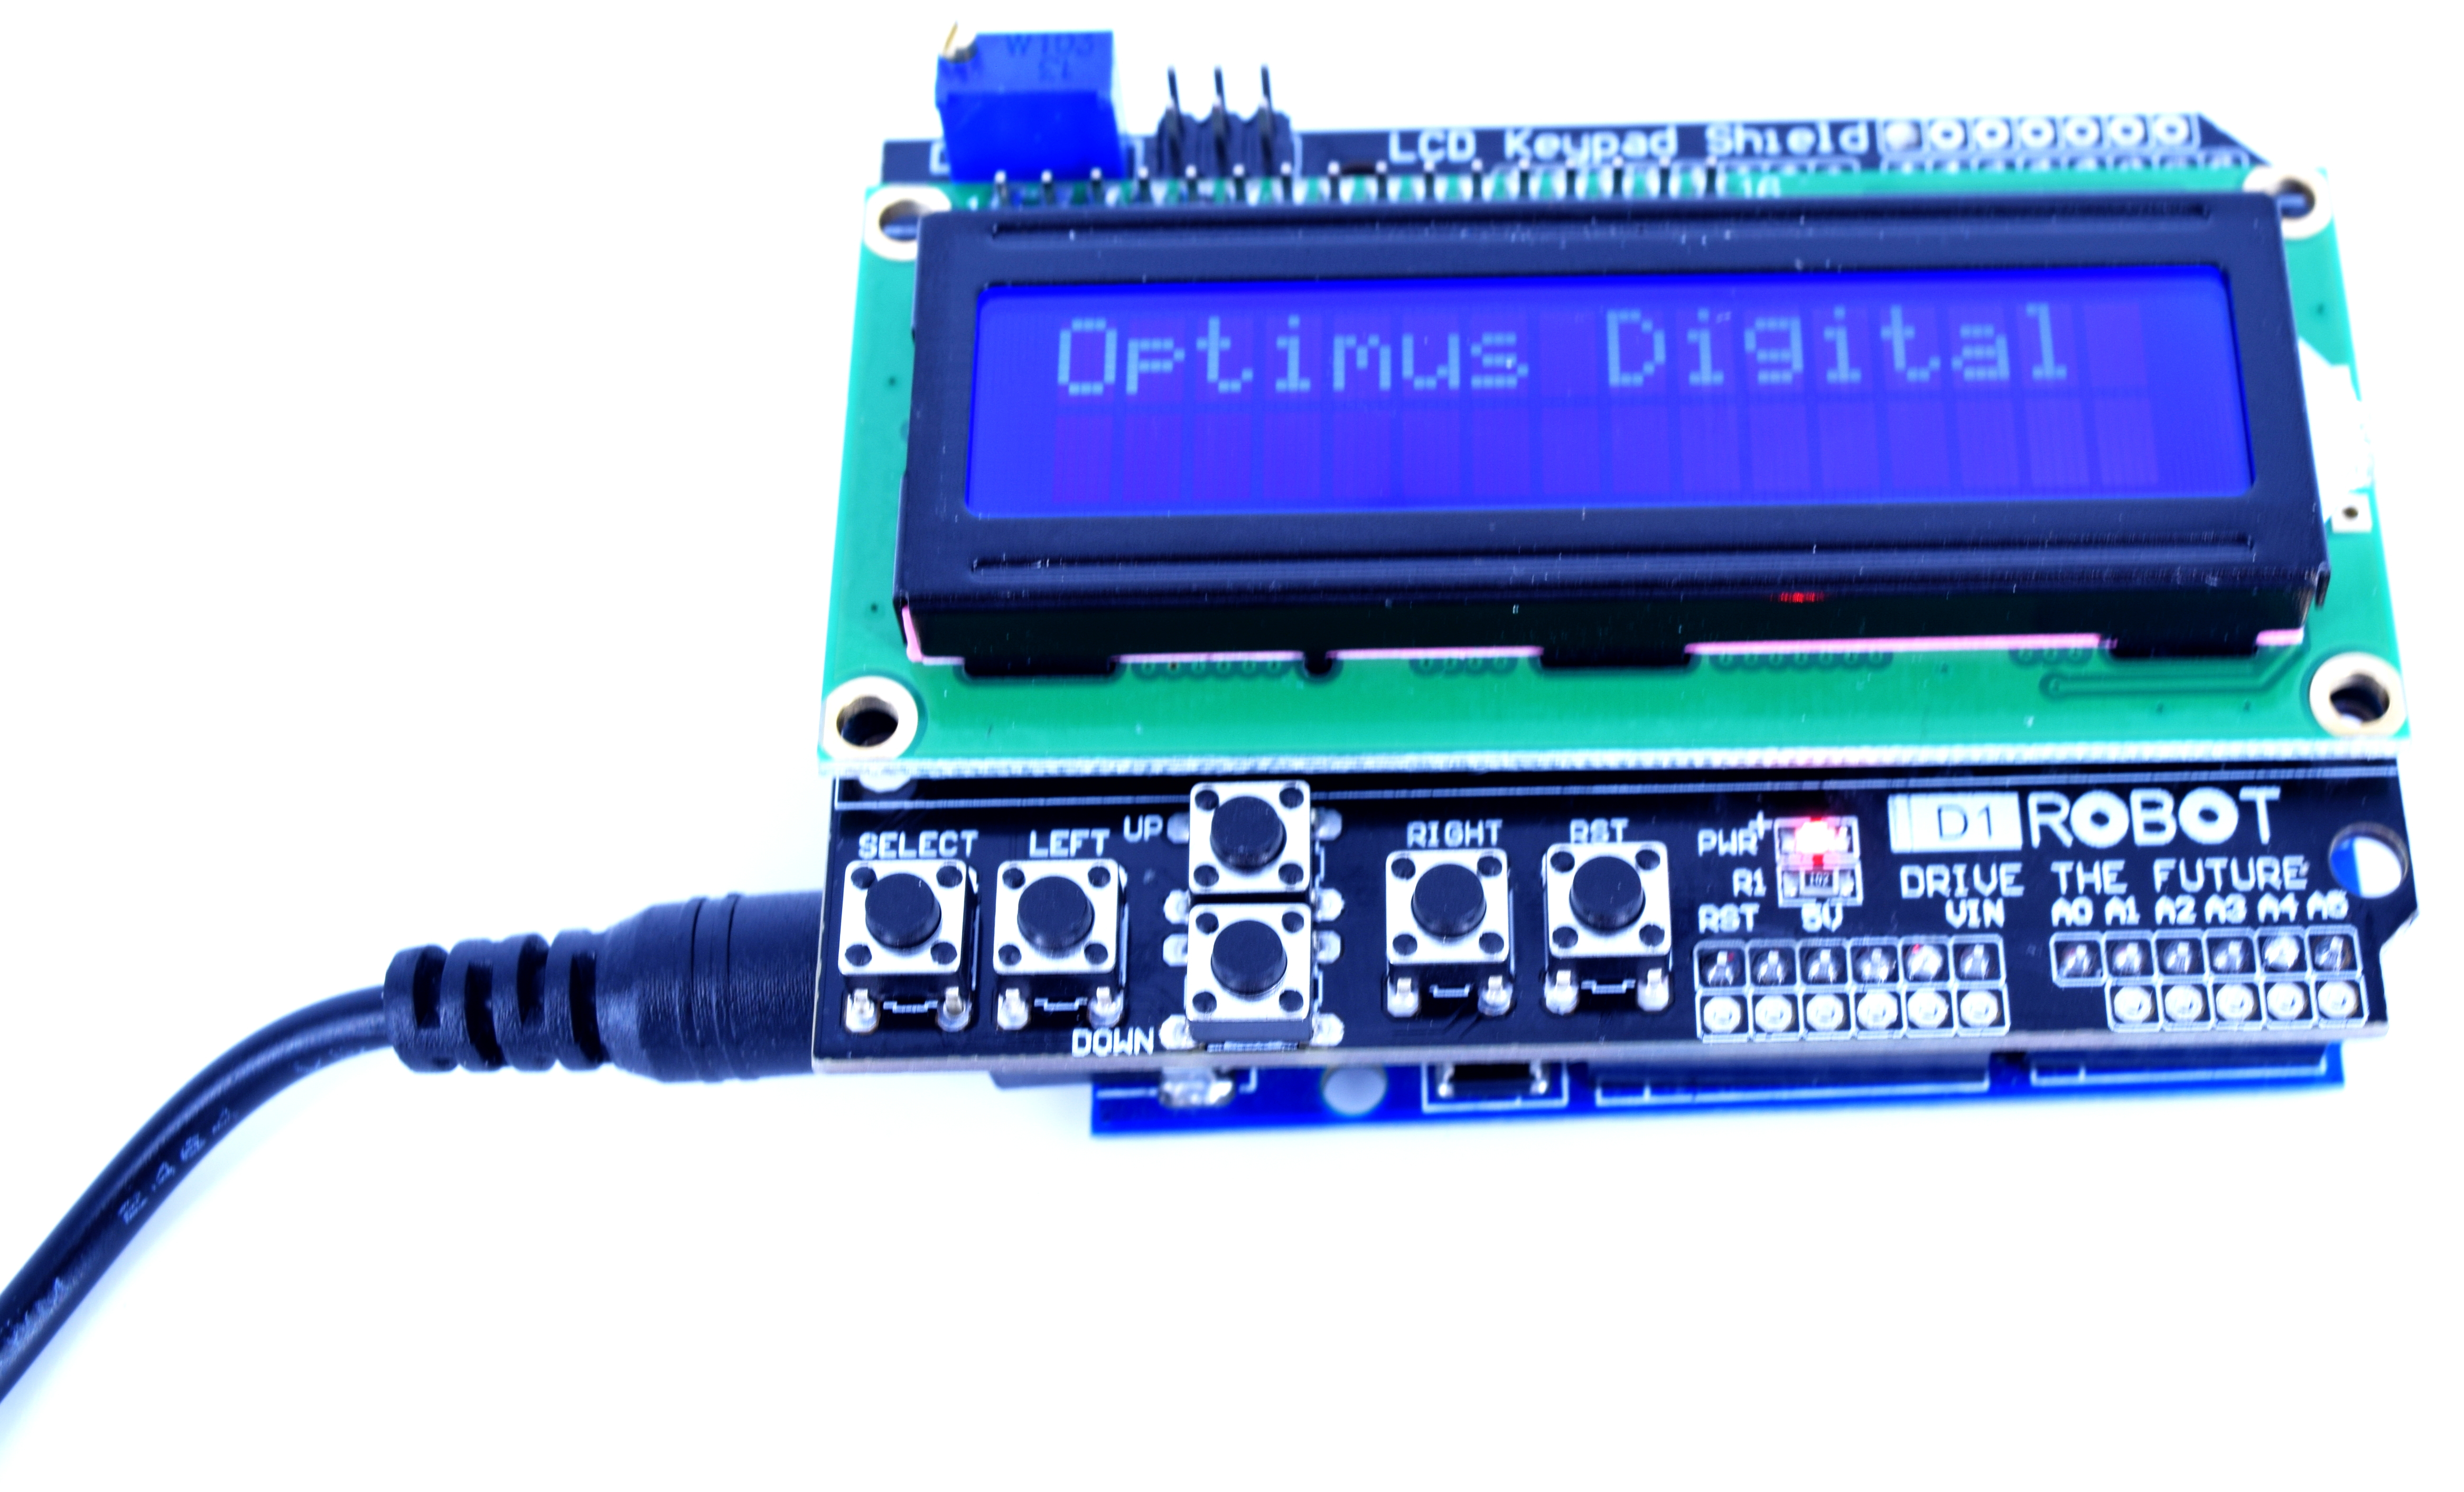
LCD and Keypad Shield for Arduino
0104110000002532
New product
This shield is an extension board for the Arduino Uno and contains a mini keyboard and LCD.
See description for more details about the product.
Add to cart now!
This product is no longer in stock
- Remove this product from my favorite's list.
- Add this product to my list of favorites.
Accessories
Must-have Accessories
Data sheet
| Weight | 53.95 |
More info
Instructions for use
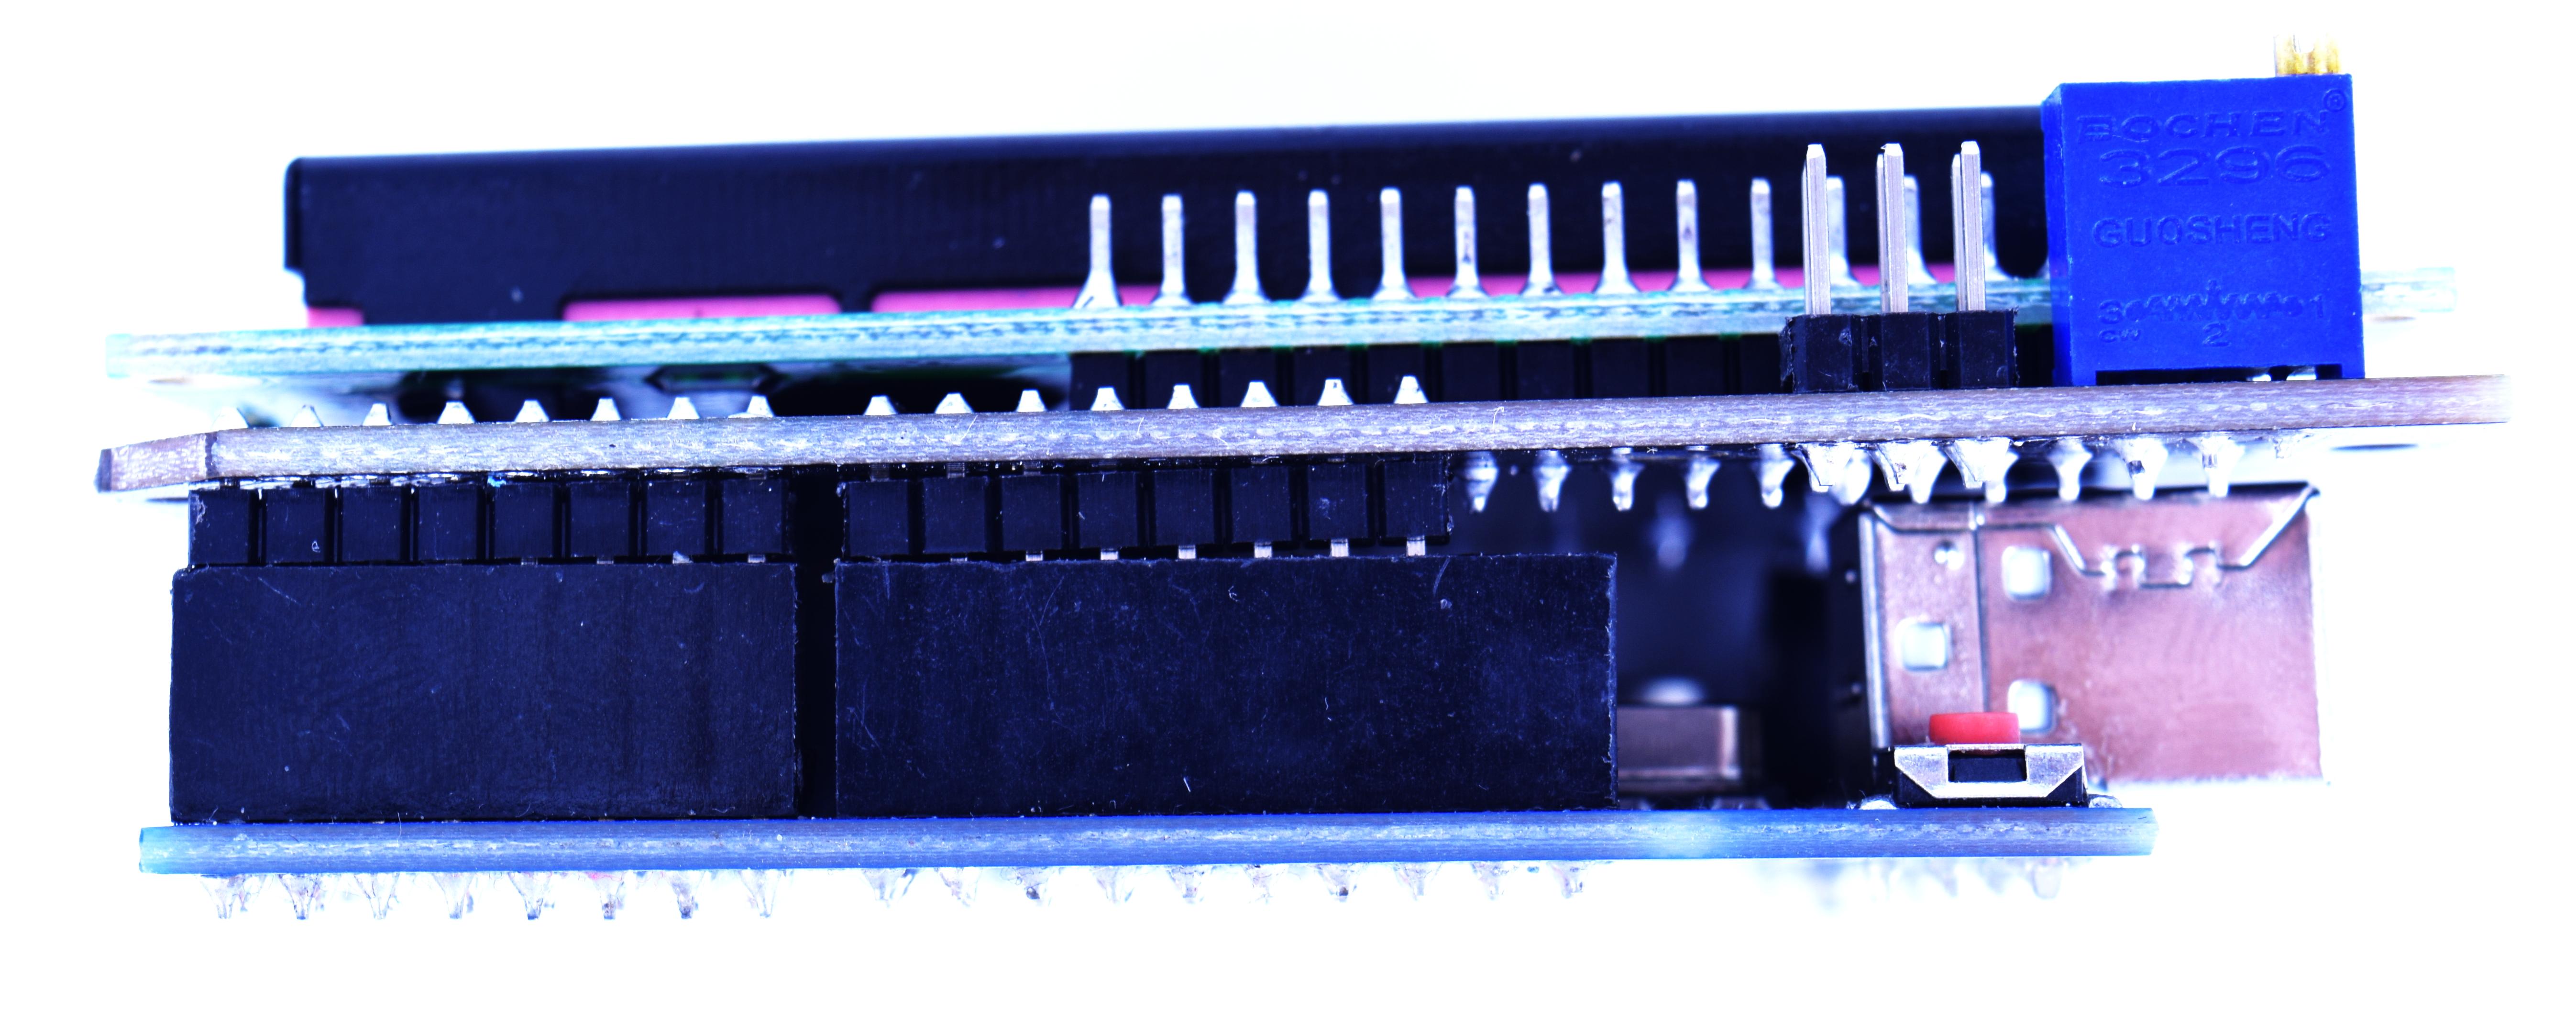
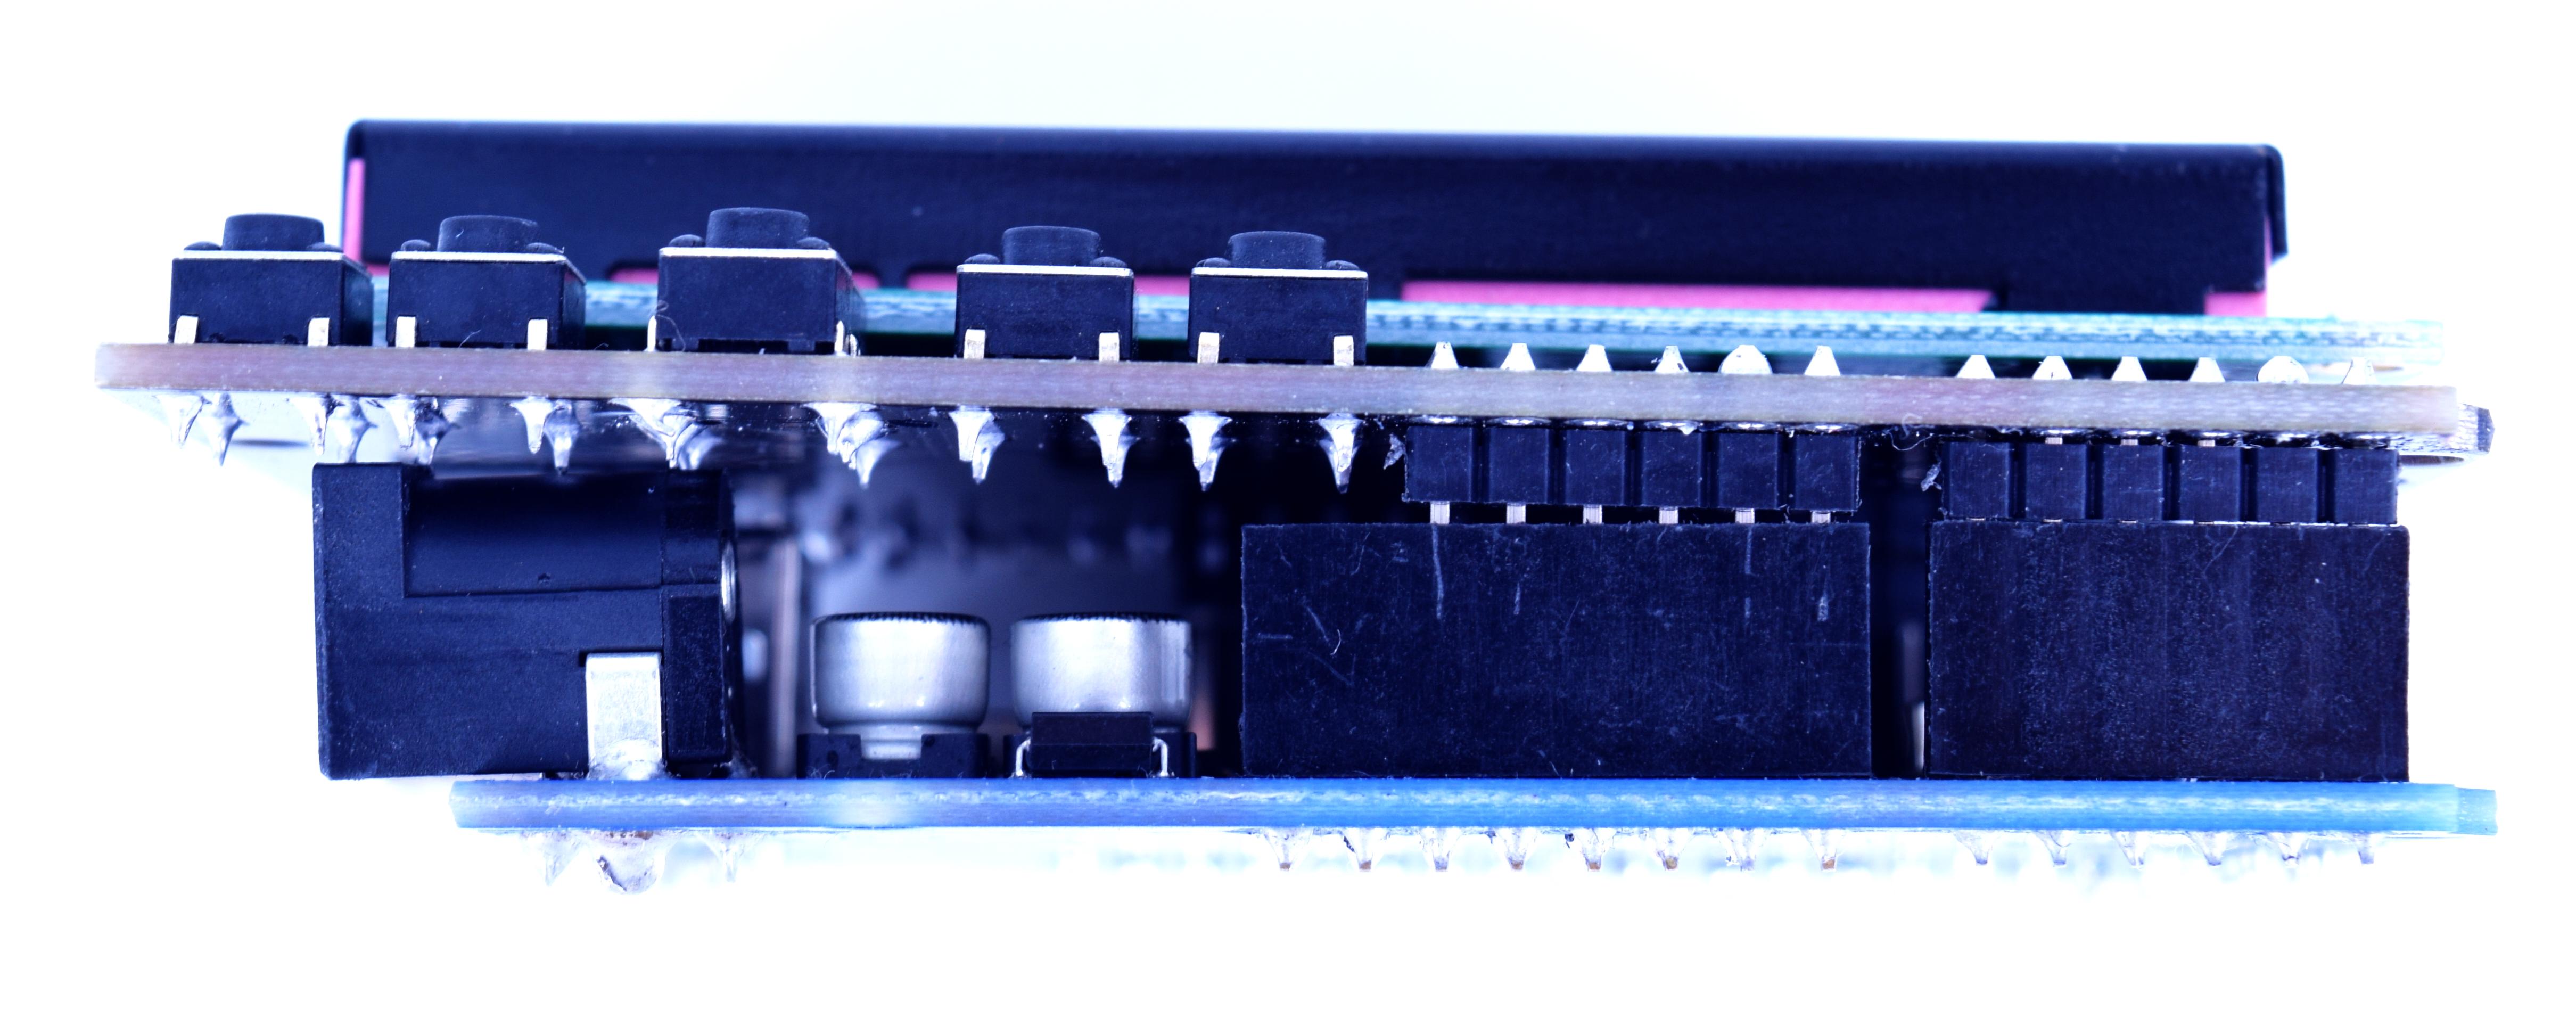
1. Mount the shield on the development board.
In the images attached below you can see the shield mounted on an Arduino development board.
CAREFUL!!! Be sure to mount the shield properly, as this may damage the module. To check this, you can check that the analog pins on the shield (marked with A0 A1 A2 A3 A4 A5) are inserted into the corresponding pins on the Arduino development board.
2. Upload a code to the development board.
After installing the shield, you can upload a code to test its functionality. It is recommended that the pins used by the LCD and buttons not be used by other components, such as sensors, so that there may be interference.
LCD pins used:
- RS - digital pin 8;
- EN - digital pin 9;
- D7 - digital pin 7;
- D6 - digital pin 6;
- D5 - digital pin 5;
- D4 - digital pin 4.
The buttons use the analog pin A0.
For more details on how to use this shield, see the code attached below. It includes comments explaining how this shield works.
If you have loaded the code on the development board and the characters are not displayed properly, the brightness of the LCD may not be appropriate. This can be adjusted via the blue potentiometer installed on the shield.
Don't delay, buy today.
Add to cart now!
Reviews
Reglare lumina
Este mai bine cu lumina slaba dar daca se stinge de tot nu se vede nimic.
,,Nu folositi pinul D10 ca output/high sau pwm ca faceti scurt in shield (vezi datasheetul shieldului)"
Ba eu am folosit analogWrite(10, 80); si merge foarte bine. Pinul 10 merge la rezistente de valoare mare, 4,7kOhm, deci nu se poate intampla nimic rau
de retinut
Trebuie sa tineti cont de ce s-a postat anterior, dar in primul rand de declaratia: LiquidCrystal lcd(8, 9, 4, 5, 6, 7); Nu am dat 5 stele pentru ca albastrul LCD-ului este enervant (cei care au proiectat LCD-ul cred ca nu aveau cunostinta despre culori; rosu cred ca era mai suportabil....) si alta culoare nu aveau.
- 8 out of 16 people found this review useful.
Potentiometru contrast
Rotiti potentiometrul de contrast catre dreapta mult, altfel nu se afiseaza nimic.
Folositi exemplul de aici: http://openhardware.gridshield.net/home/lcd-keypad-shield-test
Range-urile pentru tastatura analogica difera. Le puteti determina folosind exemplul din link
- 19 out of 19 people found this review useful.
merge bine dar cu ceva atentie
Shield-ul este proiectat pentru necesitati multiple iar lumina porneste automat daca nu e folosit pinul D10. Setati pinul D10 output/low ca sa stingeti lumina, iar ca s-o aprindeti setati pinul ca input sau nu-l declarati deloc. Nu folositi pinul D10 ca output/high sau pwm ca faceti scurt in shield (vezi datasheetul shieldului).
- 19 out of 19 people found this review useful.
Customers who bought this product also bought:
-
3 mm Bicolor...
This red and green dual color LED have 3 pins -...
1,99 lei
-
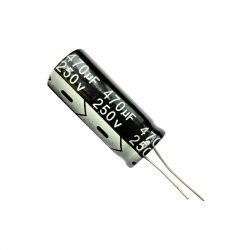
Electrolytic...
Electrolytic Capacitor 470 uF, 250 V
4,99 lei
-
Heat...
3D printer platform special high temperature...
17,58 lei
-
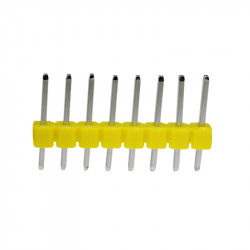
8p 2.54 mm...
8p 2.54 mm Male Pin Header (Yellow) See...
0,39 lei
-
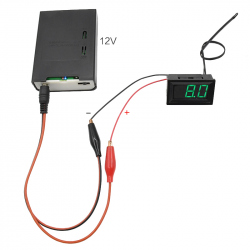
Green...
Green Thermometer with White Case (-55 ~ 110oC,...
19,99 lei
-
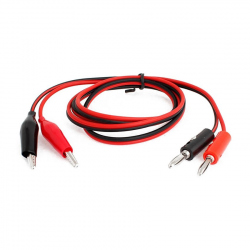
Cable with...
Crocodile clips with banana plugs with very...
9,99 lei
-
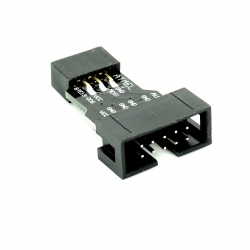
AVR ISP 6...
AVR ISP 6 Pin to 10 Pin Adapter See...
4,89 lei
-
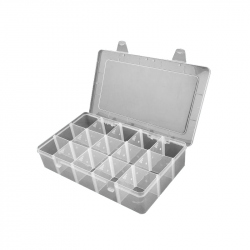
Plastic Box...
Food-grade materials are environmentally...
4,99 lei
-
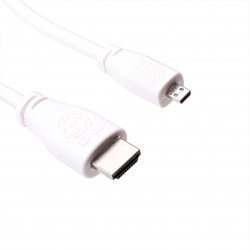
Micro-HDMI...
Genuine Product Micro-HDMI to HDMI cable...
28,42 lei
-
Capacitor...
Capacitor 100 nF / 50 V Tolerance: 10%
0,69 lei