Dupa plasarea solicitării de comandă, in sectiunea Istoric puteti vedea cate solicitări de comandă mai avem de procesat inaintea dumneavoastra
Program de lucru: Luni - Vineri 8:30 - 17:30, pauza 12:30 - 13:30.
Se efectueaza lucrari de mentenanta la site si pot aparea erori. In cazul in care intampinati erori va rugam sa reincercati mai tarziu.
Ridicarea personala este disponibila pentru comenzile achitate in avans. Se pot ridica dupa ce sunt pregatite.
No products
 View larger


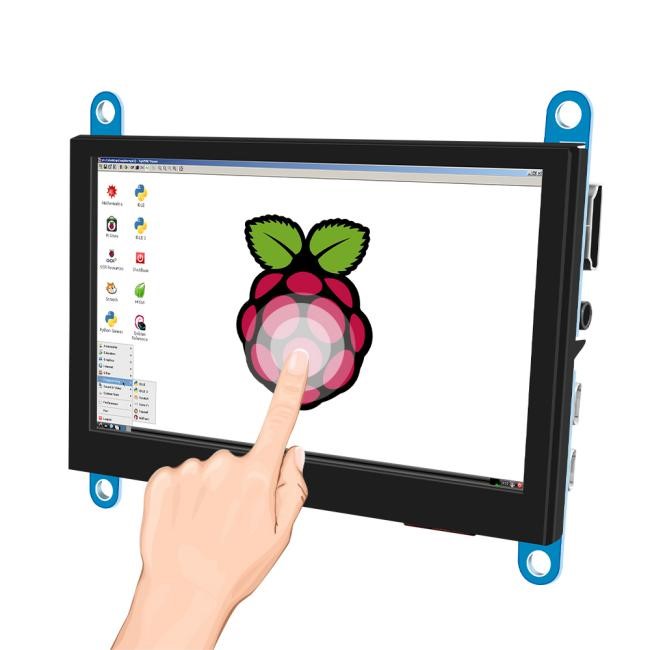
4.3’’ 800x480 JRP4301 Display
0104110000086938
New product
4.3’’ 800x480 JRP4301 Display
See description for more details about the product.
Add to cart now!
28 Items
- Write a review
- Remove this product from my favorite's list.
- Add this product to my list of favorites.
More info
Description
- Model: JRP4301
- Display Type: 4.3" TFT Normally Black
- Resolution: 800*RGB*480
- Color: 16.7M
- View Angle: Full View
- Driver IC: ST5091+ST5625
- Interface Types: HD
- Power Consumption: 500mA@5.0V
- Brightness: 500cd/m2
Specification
- Outline Dimension: 107.10*86.40mm
- Active Area Dimension: 95.03*53.86mm
- Resolution Dimension: 800*3RGB*480
- Pixel Pitch Dimension: 118.8*112.2um
- Structure Type: COG+FPC+BL (note)
Note: COG: Chip On Glass (LCD+IC); BL: Backlight; TP: Touch Panel
4.3" Display - JRP4301
| Product description |
- 4.3inch standard display, 800 × 480 Hardware resolution, Up to 1920x1080 Software configuration resolution.
- Capacitive touch screen, maximum support 5 point touch.
- Support backlight control alone, the backlight can be turned off to save power.
- Support Raspberry Pi, BB Black, Banana Pi and other mainstream mini PC.
- Can be used as general-purpose-use HD monitor, for example: connect with a computer HD as the sub-display.
- Used as a raspberry pi display that supports Raspbian, Ubuntu, Kali-Linux, Kodi, win10 IOT, single-touch, free drive.
- Work as a PC monitor, support win7, win8, win10 system 5 point touch (XP and older version system: single-point touch), free drive.
- CE, RoHS certification.
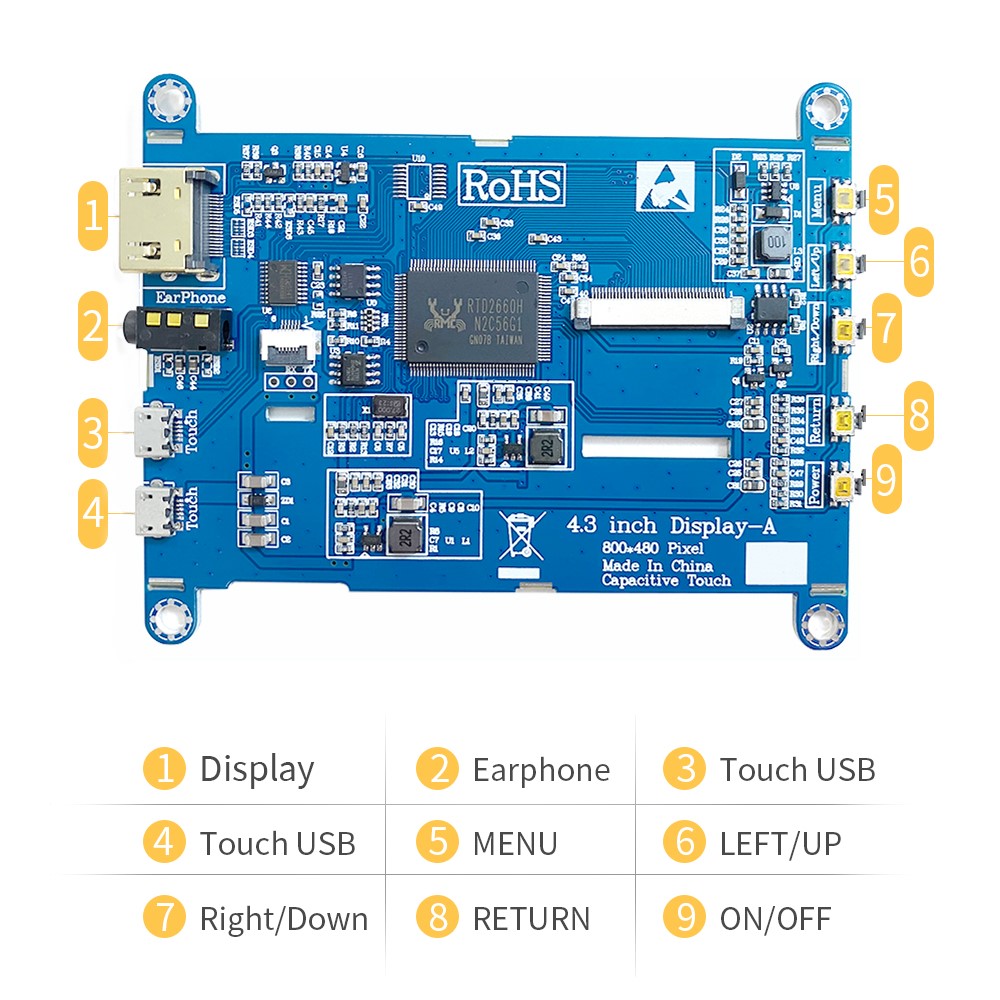
| Hardware Description |
| How to use with Raspbian/Ubuntu Mate/Win10 IoT Core System |
- Step 1 - Install Raspbian official image
- Download the latest image from the official download.
- Install the system according to the official tutorial steps.
- Step 2 - Modify the “config.txt”
After the programming of Step 1 is completed, open the config.txt file of Micro SD Card root directory and add the following code at the end of the file, save and eject Micro SD Card safely:
| max_usb_current=1 hdmi_force_hotplug=1 config_hdmi_boost=10 hdmi_group=2 hdmi_mode=87 hdmi_cvt 800 480 60 6 0 0 0 |
-
Step 3 - Insert the Micro SD Card to Raspberry Pi, connect the Raspberry Pi and LCD by HD cable; connect USB cable to one of the four USB ports of Raspberry Pi, and connect the other end of the USB cable to the USB port of the LCD; then supply power to Raspberry Pi; after that if the display and touch both are OK, it means drive successfully (please use the full 2A for power supply).
How to rotate display direction:
1. Open the “config.txt” file (the “config.txt” file is located in /boot):
| sudo nano /boot/config.txt |
2. Add the statement in the “config.txt” file, press Ctrl+X to exit, press Y to save.
| display_rotate=1 #0: 0; 1: 90; 2: 180; 3: 270 |
3. Restart the Raspberry Pi after saving.
| sudo reboot |
How to rotate touch direction:
After the display is rotated, the touch needs to be modified.
1. Install libinput
| sudo apt-get install xserver-xorg-input-libinput |
2. Create the xorg.conf. D directory in /etc/x11 / below (if the directory already exists, this will proceed directly to step 3.
| sudo mkdir/etc/X11/xorg.conf.d |
3. Copy the file “40-libinput.conf” to the directory you just created.
| sudo cp /usr/share/X11/xorg.conf.d/40-libinput.conf /etc/X11/xorg.conf.d/ |
4. Edit “/etc/X11/xorg.conf.d/40-libinput.conf”.
| sudo nano /etc/X11/xorg.conf.d/40-libinput.conf |
Find a part of the touchscreen, add the following statement inside, press Ctrl+X to exit, press Y to save. 4.3inch HD Display-C user manual.
| Option "CalibrationMatrix" "0 1 0 -1 0 1 0 0 1" |
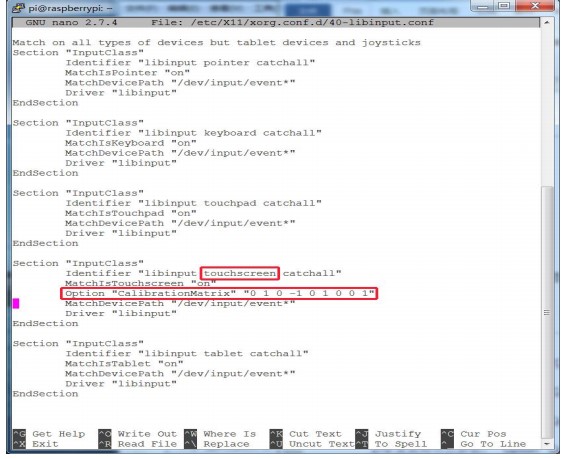
5. Restart your Raspberry Pi
| sudo reboot |
Complete the above steps for a 90 degree rotation.
Note:
0 degrees of rotation parameters: Option "CalibrationMatrix" "1 0 0 0 1 0 0 0 1"
90 degrees of rotation parameters: Option "CalibrationMatrix" "0 1 0 0-1 1 0 0 1"
180 degrees of rotation parameters: Option "CalibrationMatrix" "-1 0 1 0 -1 1 0 0 1"
270 degrees of rotation parameters: Option "CalibrationMatrix" "0-1 1 1 0 0 0 0
| How to use as PC Monitor |
- Connect the computer HD output signal to the LCD HD interface by using the HD cable.
- Connect the LCD's USB Touch interface (Either of the two MicroUSB) to the USB port of the device.
- If there are several monitors, please unplug other monitor connectors first, and use LCD as the only monitor for testing.
Don't delay. Buy today.
Add to cart now!
Reviews
Customers who bought this product also bought:
-
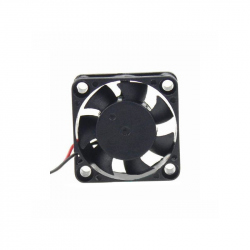
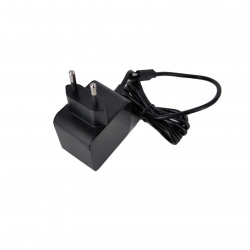
12V...
12V 40x40x10mm CY410/A Fan See description for...
5,99 lei
-
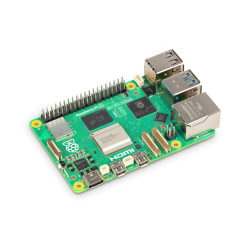
Raspberry Pi...
Original Product
66,99 lei
-
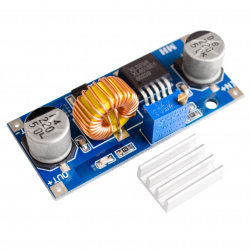
XL4015 5 A...
This is a XL4015 5A adjustable step-down DC-DC...
16,99 lei
-
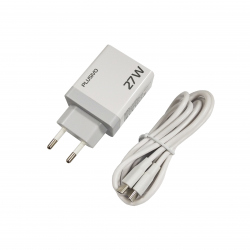
Plusivo...
White Power Supply 27W for Raspberry Pi 5...
49,99 lei
-
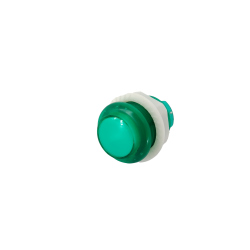
Arcade...
This 24 mm arcade button red LED is ideal for...
9,99 lei
-
Raspberry Pi...
Original Product To be automatically...
599,00 lei
-
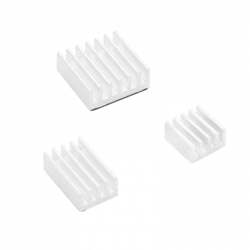
Aluminum...
Aluminum Heatsink Set for Raspberry Pi 4...
4,99 lei
-
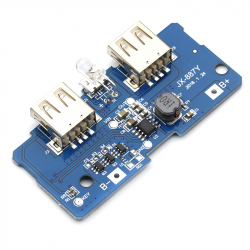
DC-DC Boost...
DC-DC Boost Module with microUSB Input,...
11,99 lei
-
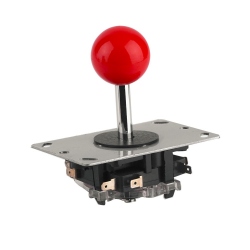
Arcade...
Arcade Joystick - Red
39,99 lei
-

Male Power...
Its screw terminals ensure best connection of...
0,99 lei